Meta Description: Learn effective solutions to fix low water pressure in the sink with our comprehensive guide covering common causes and DIY fixes.
Nothing disrupts your kitchen routine like weak water flow from your sink. From rinsing dishes to washing hands, everything takes longer than it should. Understanding the reasons behind this issue and how to fix low water pressure in the sink will help restore proper functionality to your kitchen sink.
Reasons Leading to Low Kitchen Water Pressure
Broken Water Lines

Your home's plumbing system faces constant pressure from daily water use. Temperature changes cause pipes to expand and contract throughout the seasons. This movement can create tiny cracks in your water lines.
Older homes often have pipes made from outdated materials, which break down faster than modern plumbing components. Cast iron pipes typically last 50-75 years before developing problems, while copper pipes can serve you well for 50 years under ideal conditions.
The soil around your home shifts naturally over time, stressing your underground water lines. Even small breaks can cause significant pressure drops at your sink. Look for unexplained wet spots in your yard.
Cartridge Clogs
Your faucet's cartridge manages both water flow and temperature control. Think of it as a sophisticated valve system. This component handles thousands of on-off cycles every year. Hard water leaves mineral deposits inside the cartridge's channels.
The cartridge contains tiny channels for water flow. These pathways narrow over time due to mineral accumulation, requiring your water to work harder to push through these restricted spaces. Regular maintenance can prevent severe cartridge clogs.
Local water quality affects how quickly cartridges become clogged. Areas with hard water see more frequent problems. Some regions report mineral content high enough to clog cartridges within months.
Aerator Clogs
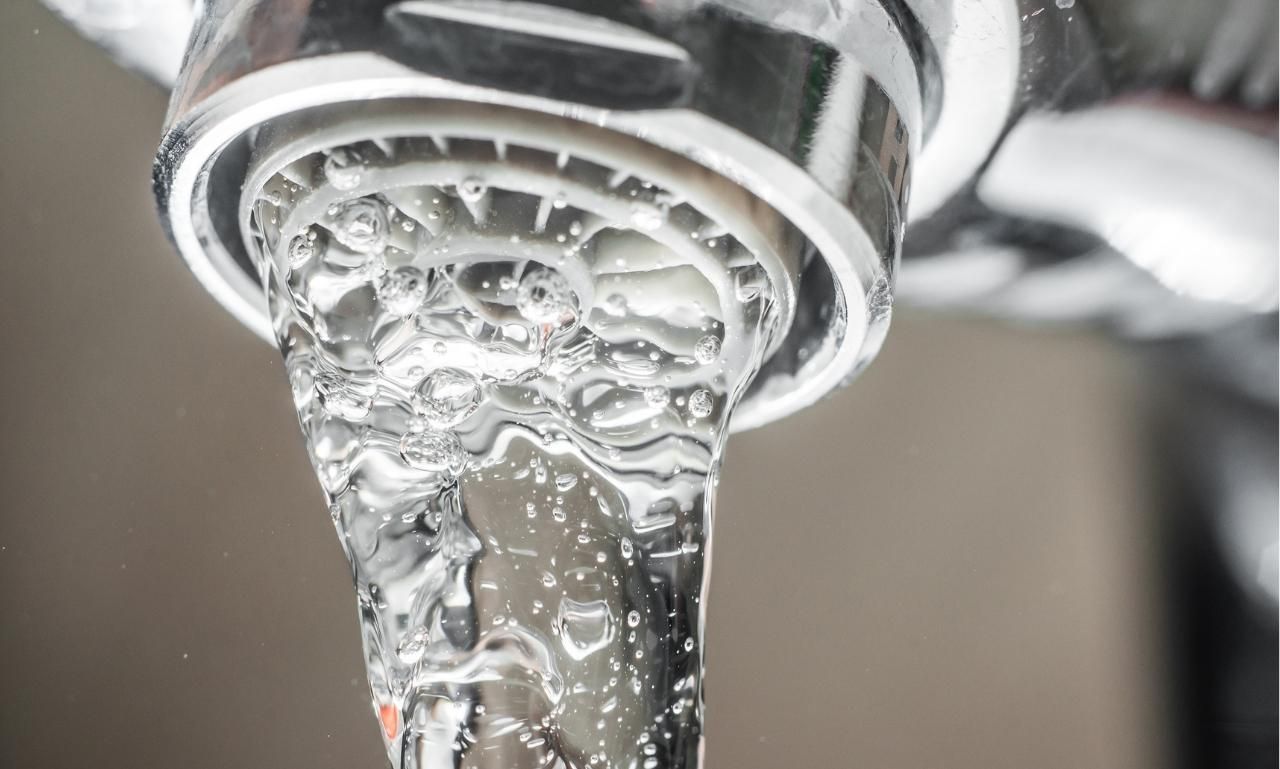
The aerator serves as your faucet's first line of defence against debris. This small mesh screen adds air to your water stream, creating a splash-free flow while conserving water. However, it catches everything that comes through your pipes.
Mineral deposits build up on aerator screens like layers of scale. Tiny particles of rust and sediment get trapped in the mesh. Over time, these deposits can block most of the aerator's openings, resulting in noticeably reduced water flow.
Shut-off Valve Errors
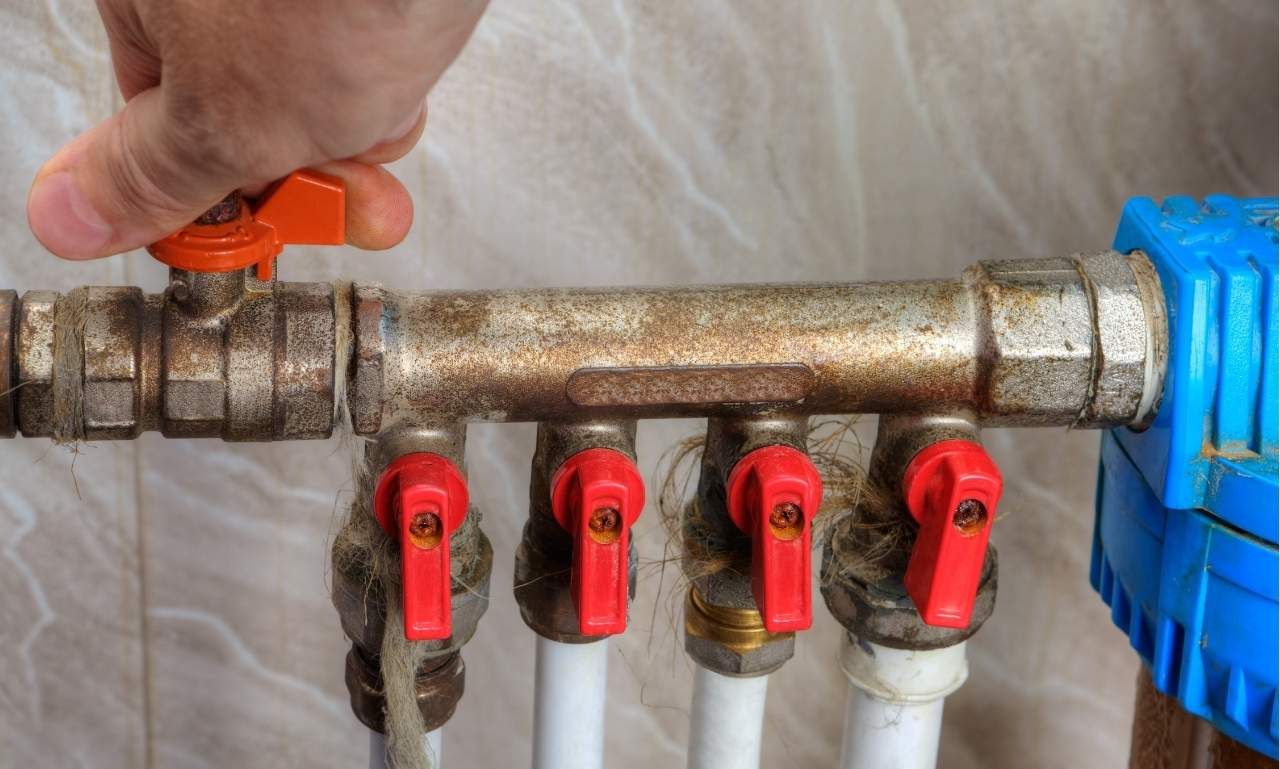
Every sink connects to shut-off valves for both hot and cold water. These valves sit underneath your sink cabinet. They control water flow to your faucet fixtures. Many homeowners never touch these valves until there's a problem.
Shut-off valves can become stiff from lack of use, and the internal components may corrode over time. Sometimes, valves get accidentally bumped when storing items under the sink. Even a quarter turn can affect water pressure.
Regular valve maintenance prevents unexpected problems. Try turning each valve entirely off and on every few months. This keeps the internal parts moving freely. Report any leaks around valve stems promptly.
Leaks
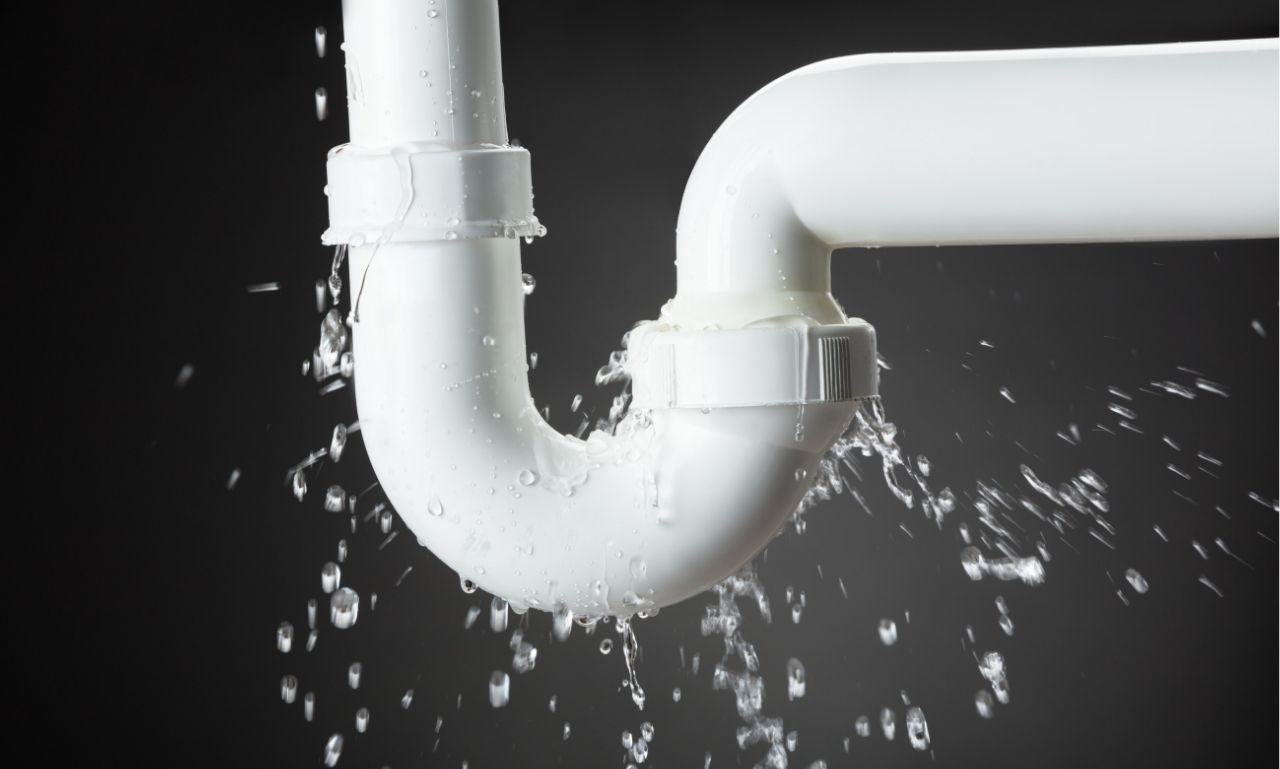
A single dripping pipe can lose gallons of water daily. This constant loss affects pressure throughout your plumbing system. Check your water meter when no water is running.
Hidden leaks often cause mysterious pressure problems. Water can escape behind walls or under floors. Watch for unusual sounds like dripping or rushing water. Note any unexplained increases in your water bills.
Professional plumbers use specialised equipment to detect hidden leaks. Sonic detectors can pinpoint water escapes in walls, and pressure tests reveal leaks in underground pipes. Early detection prevents extensive water damage.
How to Increase Water Pressure in Sink | Waypoint Inspection
Check the Aerator

Start your pressure investigation with the simplest solution. Locate the aerator at your faucet's tip. Most aerators unscrew by hand, but some need pliers. Place a cloth between metal tools and fixtures to prevent scratches.
Fill a small bowl with white vinegar. Submerge your aerator entirely in the solution. Let it soak for at least 30 minutes. Stubborn deposits might need overnight soaking. Brush away loosened material with an old toothbrush.
Some aerators have multiple components inside. Before disassembling, note how the pieces fit together. Clean each part thoroughly before reassembling. Test water flow after reinstalling the cleaned aerator.
Blockage in Faucet
Your faucet contains several parts that can affect water flow. The cartridge controls most water movement through your faucet. Remove the decorative cap on your faucet handle carefully. Look for a retaining nut or screw holding the handle.
Different faucet brands use various cartridge designs. Consult your faucet's manual for specific removal instructions. Some cartridges pull straight out, while others might need gentle twisting. Never force components apart.
Examine the cartridge for mineral buildup or damage. Soak metal parts in vinegar to dissolve deposits. Replace any components showing signs of wear. Many hardware stores stock common cartridge replacements.
While the Valves are Out
Use this opportunity to inspect your under-sink plumbing thoroughly. Look for water spots on pipes or cabinet surfaces. Feel along pipe connections for moisture. Check flexible supply lines for cracks or bulging.
Examine the area around the shut-off valve stems. Water stains here indicate slow leaks. Tighten any loose connections carefully. Don't overtighten plastic components. They can crack under too much pressure.
Consider replacing old flexible supply lines. These hoses typically last 5-8 years. Look for signs of corrosion at connection points. Modern braided stainless lines offer better durability.
Blockage in Pipes
Pipe blockages can occur anywhere in your home's plumbing. Listen for gurgling sounds when water runs, and watch for slow drains in multiple fixtures. These signs suggest pipe restrictions.
Mineral scale builds up faster in hot water pipes. The heat accelerates deposit formation. Consider installing a water softener if you have hard water. This prevents future scale problems.
Some blockages require professional cleaning equipment. Plumbers use hydro-jetting for severe clogs. This high-pressure water cleaning restores full pipe capacity. It removes years of accumulated deposits.
Flushing Water Heater Can Increase Water Pressure in Sink
Your water heater needs regular maintenance for optimal performance. Sediment collects at the tank bottom over time. This layer reduces heating efficiency. It can also restrict water flow to your fixtures.
Attach a garden hose to your water heater's drain valve. Direct the other end to a suitable drainage area. Turn off the heater and let it cool completely. Open the drain valve slowly.
Let the tank drain until the water runs clear, which might take 15-20 minutes. Then, close the valve and refill the tank. Repeat this process every six months.
Install A Pressure Booster
Some homes suffer from chronically low municipal water pressure. These properties might sit at higher elevations, and distance from main water lines can also affect pressure. A pressure booster pump offers a permanent solution.
Professional installation ensures proper pump sizing. The system must match your home's specific needs. Most boosters include pressure tanks for consistent operation. Expect to invest $700-1,200 for a complete system.
Regular maintenance keeps your booster pump running efficiently. Check pressure gauge readings monthly, listen for unusual pump sounds, and schedule professional service annually.
Remove and Clean the Flow Restrictor
Modern faucets include water-saving flow restrictors. These devices effectively limit water consumption, sometimes restricting flow more than necessary. The restrictor sits just behind the aerator.
Remove the restrictor carefully during aerator cleaning. Look for mineral deposits or debris. Clean the restrictor holes with a pin if needed. Consider upgrading to a different flow rate model.
Some areas require specific flow rates by law. Check local regulations before modifying restrictors. Many manufacturers offer various flow options. Choose one that balances conservation with usability.
Check the Water Supply Shut-off Valves

Locate all valves controlling water to your sink. Main shut-offs are usually mounted near your water meter. Individual fixture valves sit under sinks or behind access panels. Ensure all valves open fully.
Turn each valve handle counterclockwise until it stops. Don't force handles past their natural stopping point. Some valves need several full turns, and others operate with quarter-turn motion.
Replace any valves that feel stiff or won't turn smoothly. Modern quarter-turn ball valves offer reliable operation and better resistance to mineral buildup than older valve styles.
When do I Call a Plumber?
Professional help becomes necessary when DIY solutions fail. Multiple fixtures showing pressure problems need an expert diagnosis. Persistent issues might indicate serious plumbing problems. Hidden leaks require specialised detection equipment.
Licensed plumbers bring years of troubleshooting experience. They recognise subtle signs of developing problems, and their professional tools locate issues quickly. Many offer warranties on their repair work.
Consider professional service for any of these situations:
- Sudden pressure drops affecting multiple fixtures
- Strange noises in your plumbing system
- Unexplained increases in water bills
- Visible water damage or persistent dampness
- Failed DIY repair attempts
Conclusion
Many homeowners are frustrated by low water pressure. Understanding common causes helps you solve problems quickly. Start with simple solutions, like cleaning your aerator, and work through each potential issue methodically.
Remember that some repairs need professional expertise. Don't risk damaging your plumbing with incorrect repairs. Regular maintenance prevents many pressure problems. Keep track of your maintenance schedule.
Your sink should deliver strong, steady water flow. Don't settle for weak pressure that disrupts your daily routine. Take action when you notice pressure changes. Quick responses prevent more significant problems later.
Also Read: How Many Hours Do Jet Skis Last?


